9
and goes off.
8. Turn the Temperature Dial in anti-clock-
wise direction to ‘Min’.
9. Disconnect the iron from mains supply
outlet.
10. Hold the iron horizontally over a sink.
11. Press and hold the Self-Cleaning button.
12. Steam and boiling hot water will drain
from the holes on the soleplate washing
away the scales and minerals that have built
up inside the Steam Chamber.
13. Gently move the iron back and forth until
the water tank is empty.
14. When Self-Cleaning is complete, release
the Self-Cleaning button.
15. Rest your steam iron back on its heel
rest and allow to fully cool down.
16. Wipe the soleplate with a cold damp
cloth.
Caution: Keep skin/body away from the
hot water.
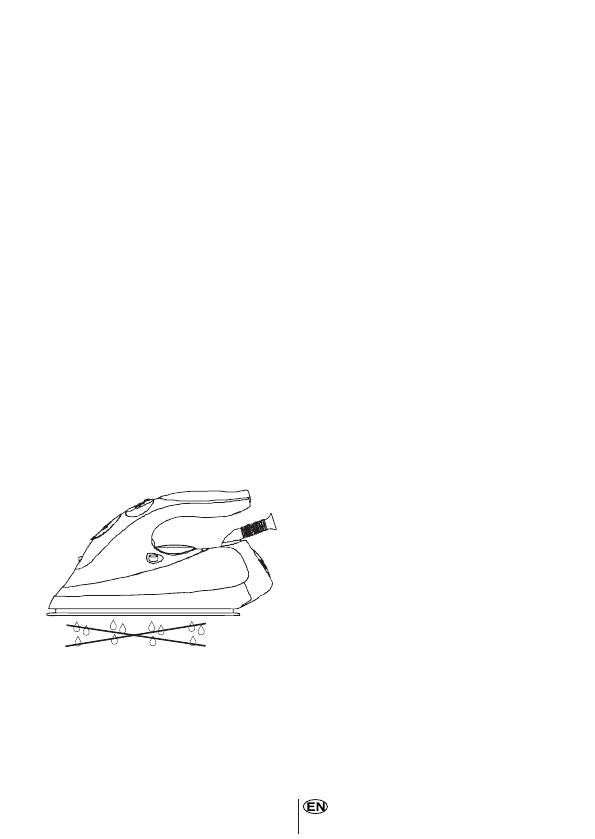
Anti-Drip
1. Anti-drip system, which is designed to
prevent water escaping from the soleplate
when the iron is too cold automatically.
2. During use, the anti drip system may emit
a loud clicking sound, particularly during
heat-up or whilst cooling down. This is per-
fectly normal and indicates that the system is
functioning correctly.
The Auto shut-off feature will operate auto-
matically when the iron is unattended and it
is connected to a mains supply outlet.
Auto shut-off in horizontal
1. The iron will switch off automatically be-
tween 16-39 seconds if the iron is immobile
in the ironing position (horizontal).
2. The auto shut-off indicator glows and
having a continue beep sound.
3. By simply moving the iron, Auto Shut Off
will reset (Auto Shut-Off indicator goes off).
Auto-shut off in vertical
1. The iron will switch off automatically in
approxemately in 15 minutes if the iron is left
on its heel rest position (vertically).
2. The auto shut-off indicator glows and
having a continue beep sound.
3. By simply moving the iron, the Auto Shut
Off will reset (Auto Shut Off indicator goes
off).
Note: After Auto Shut Off is reset, the iron
will take about 60 seconds to reach its
previous soleplate temperature set by the
Temperature Dial.


