17-GB
Notes
• “LP:” will be added at the beginning of the
track name of a track recorded in MDLP
mode.
• It is recommended that you use the supplied
AC power adaptor for long recordings.
• During monaural recording of a stereo sound
source connected through the digital (optical)
input jack, you can still monitor the recorded
sound in stereo by using headphones or
earphones connected to the i/LINE OUT
jack.
• When you record in LP4 mode, momentary
noise may be produced on very rare occasions
with certain sound sources. This is because of
the special digital audio compression
technology that enables a recording time 4
times longer than normal. If noise is produced,
it is recommended that you record in normal
stereo or LP2 mode to obtain better sound
quality.
VOR (Voice Operated
Recording)
VOR causes the recorder to automatically
record when there is sound, and to pause
when there is no sound. This allows you
to record without troublesome button
operations.
1 Insert a recordable disc and slide MIC
SENS to H (high) or L (low).
2 Press REC MODE repeatedly until
“STEREO”, “LP2”, “LP4”, or
“MONO” lights up in the display.
For details on the recording mode, see
“Recording for long times” (page 16).
3 Press zREC.
4 Press VOR.
VOR turns on.
“VOR” appears in the display and the
VOR indicator lights up when the
recorder is recording. Both “VOR”
and the VOR indicator flash when the
recorder is not recording.
To cancel VOR while recording
Press VOR again.
“VOR” and the VOR indicator goes off
and the recorder changes to normal
recording mode.
z
• VOR automatically turns off when you press
the xSTOP button to stop recording.
• You can change the recording mode when
VOR is on and the recorder is not recording
(while “VOR” and VOR indicator flash). A
track mark is added each time you press the
REC MODE button.
Notes
• You cannot record with the built-in
microphones while an optional microphone is
connected to the MIC (PLUG IN POWER)
jack or an optical cable (not supplied) is
connected to the LINE IN (OPTICAL) jack.
• VOR is sensitive to the surrounding sound
conditions. Set the MIC SENS switch to H or
L to suit the conditions. If you cannot get the
desired recording results, cancel VOR and
record in manual mode.
• Power from the batteries is consumed as long
as VOR is on, even when recording is not
taking place (i.e., when “VOR” and the VOR
indicator flash.)
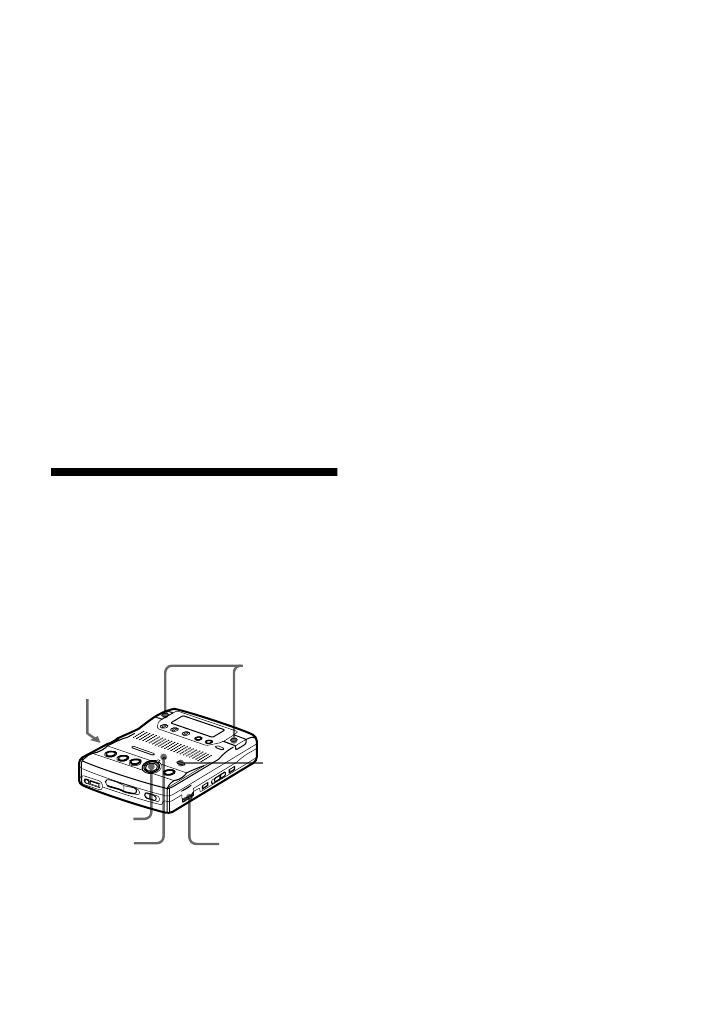
VOR
VOR
indicator
built-in
microphones
MIC SENS
zREC
REC
MODE
built-in
microphones


