4
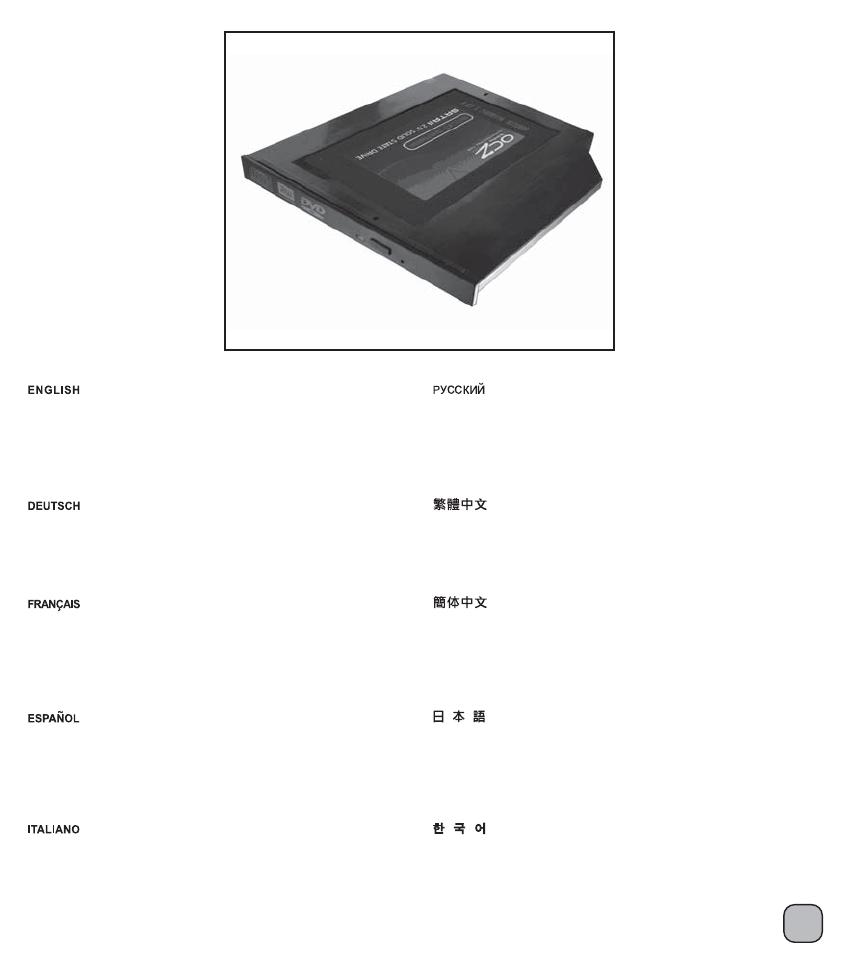
Put a 2.5” hard drive into the optical drive tray to be a second hard drive
for a notebook computer for increased storage capacity. Take out optical
drive from a notebook computer then install the second 2.5” hard drive
into the original optical drive tray for expansion. When two hard drives
copy each other, their speeds are faster and more efficient.
Mettre un disque dur de 2,5" dans le plateau de DVD pour servir de
second disque dur et étendre la capacité de stockage de l'ordinateur
portable. Sortez le DVD de l'ordinateur portable, puis installez le second
disque dur 2.5" dans le plateau de DVD d'origine pour étendre l'ordinateur
portable d'un second disque dur. Lorsque deux disques durs se copient
l'un l'autre, leurs vitesses sont plus rapides et plus efficaces.
Poner un disco duro de 2,5” en la bandeja del DVD para convertirlo en un
segundo disco duro para una expansión de almacenamiento del portátil.
Saque el DVD del portátil y luego instale el segundo disco duro de 2,5” en
la bandeja del DVD para expandir el portátil. Cuando dos discos duros se
copian entre sí, sus velocidades son mayores y más eficientes.
Installare un hard disk da 2,5” nel supporto DVD per avere così un HDD
secondario, che aumenti la capacità di storage del notebook. Rimuovere
il DVD dal notebook e posizionare il secondo HDD da 2,5” nel supporto
originale, così da avere un secondo HDD. Spostare dati su due HDD
interni aumenta la velocità e l’efficienza di trasferimento dei dati stessi.
Установите жесткий диск 2,5” в лоток для DVD в качестве второго
жесткого диска для расширения объема памяти ноутбука. Извлеките
DVD-привод из ноутбука, а затем установите второй жесткий диск 2,5”
в лоток для DVD для расширения возможностей ноутбука. Когда два
жестких диска копируют друг друга, их быстродействие и производительность
возрастают.
藉由TS06將2.5吋傳統硬碟安裝至筆記型電腦的光碟機槽位,
改善以往捉襟見肘的硬碟空間。
原生的SATA傳輸介面,同時增加兩硬碟之間的資料傳輸速度。
藉由TS06
将2.5吋传统硬盘安装至笔记型计算机的光驱槽位,
改善以往捉襟见肘的硬盘空间。
原生的SATA传输接口,同时增加两硬盘之间的数据传输速度。
2.5” HDDをDVDトレイに入れ、ノートPCの拡大ストレージ容量向
けとして2台目のHDDにします。 ノートPCからDVDを取り出し、
2台目の2.5” HDDを最初のDVDトレイに取り付け、ノートPC拡張
用の2台目のHDDにします。 2台のHDDを互いにコピーすると、そ
の速度は上がりより効率的になります。
2.5” HDD를 DVD 트레이에 넣고 노트북 저장 용량 확장용
보조 HDD로 사용합니다. 노트북에서 DVD를 꺼낸 다음
보조 2.5” HDD를 원래의 DVD 트레이에 설치하여 노트북
확장용 보조 HDD로 사용합니다. 두 대의 HDD가 서로 복사할
경우
, 속도가 빨라지고 효율성이 높아집니다.


