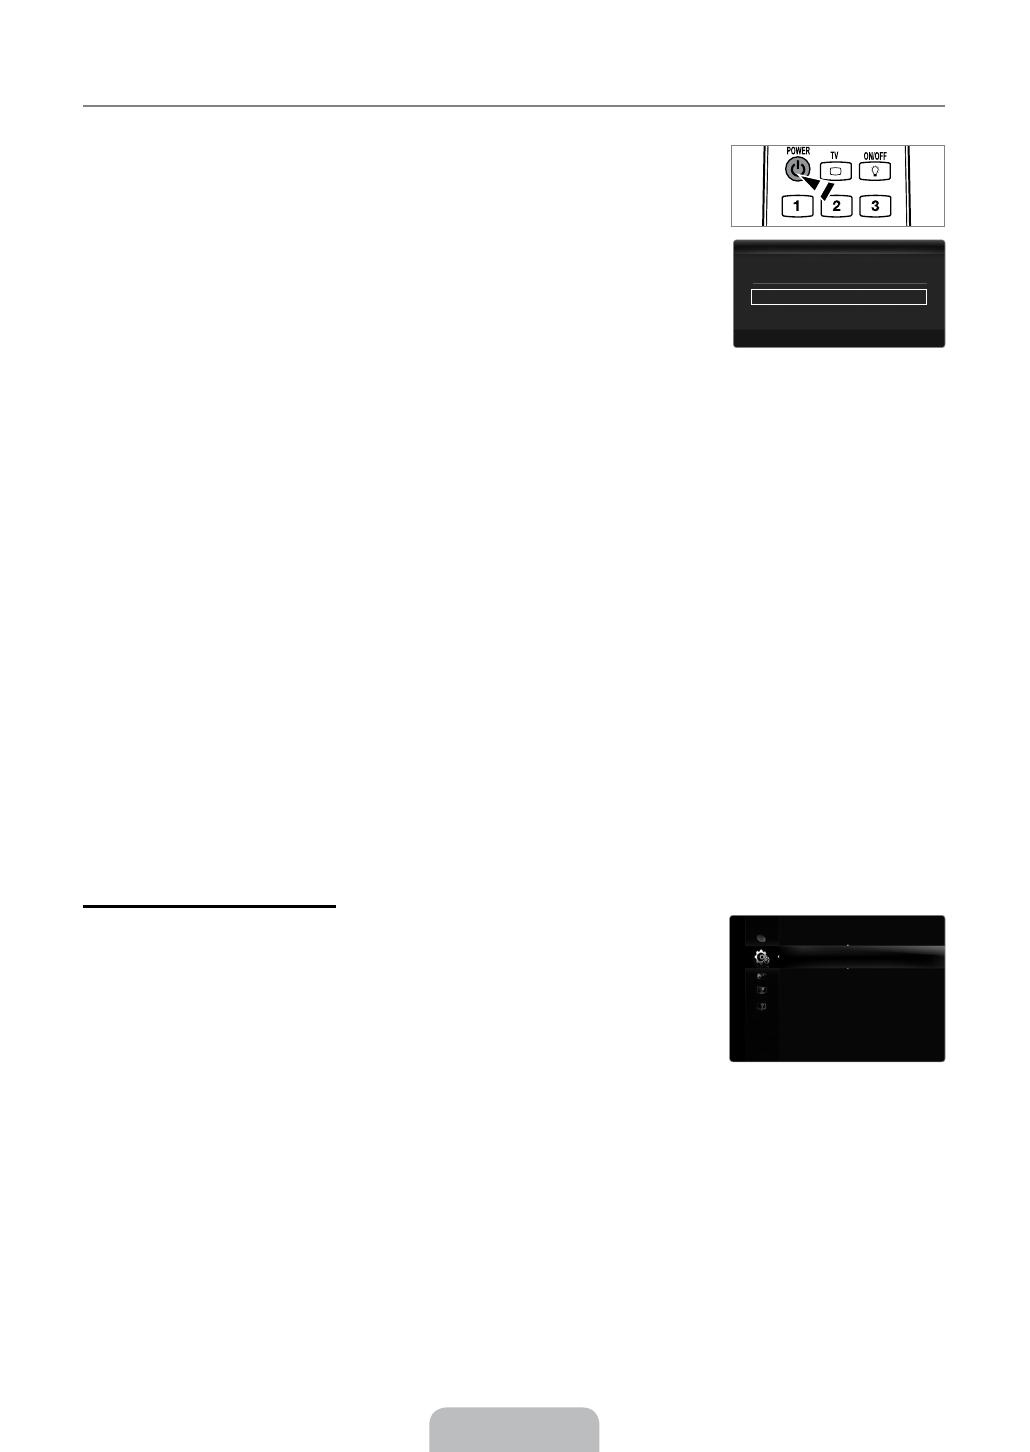
In PC mode, you can only make changes to the and from among the
items in .
or is only activated when the picture mode is .
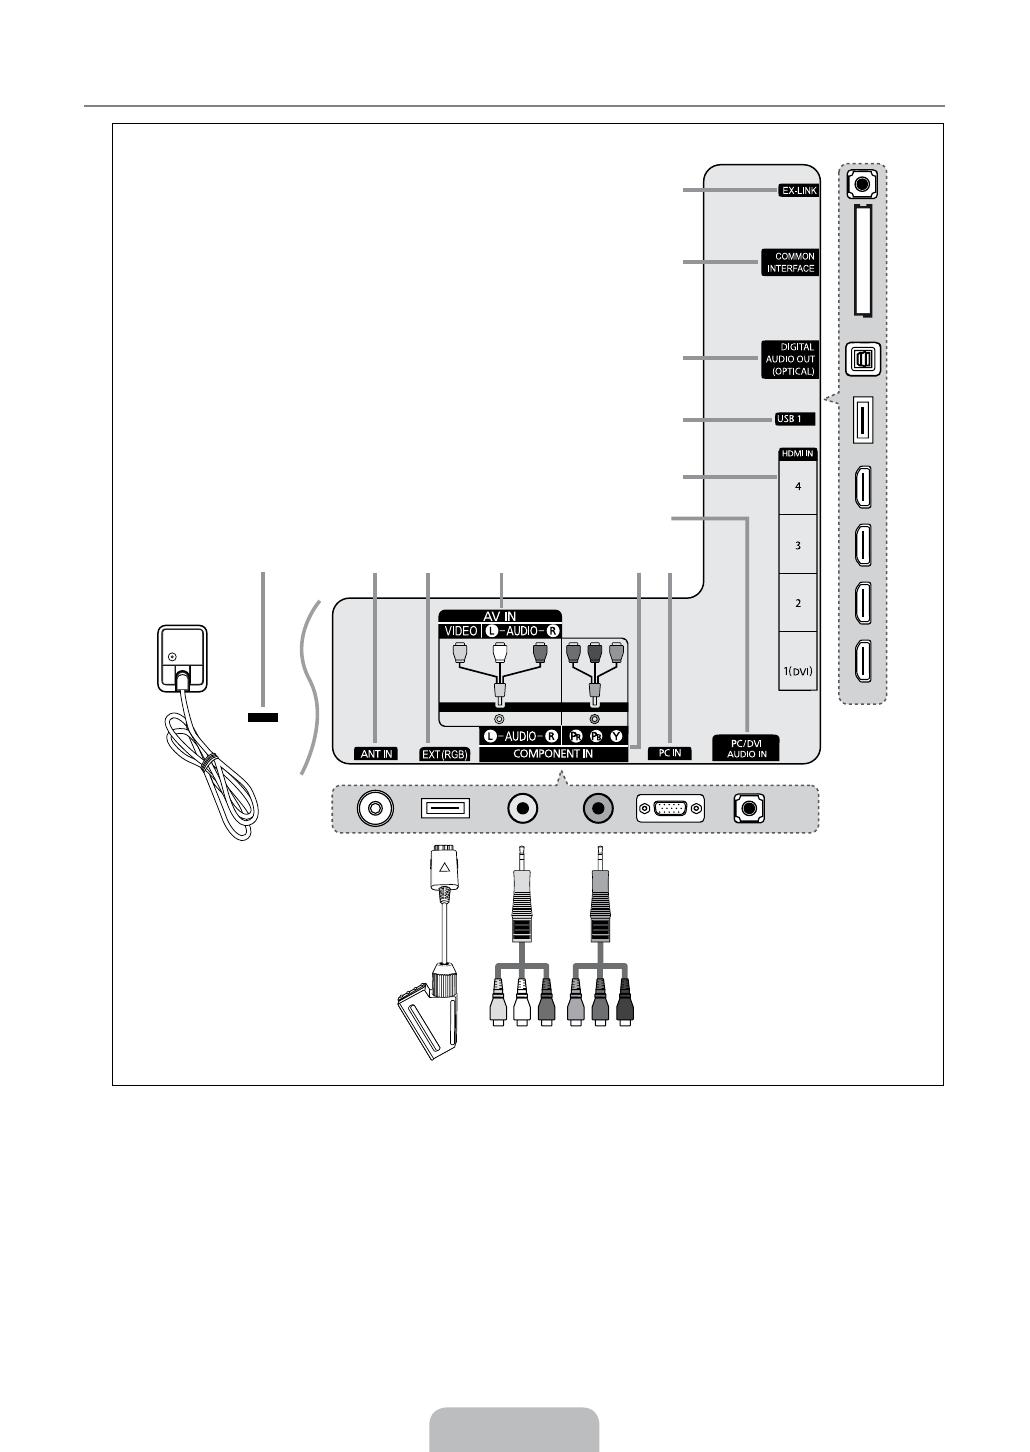
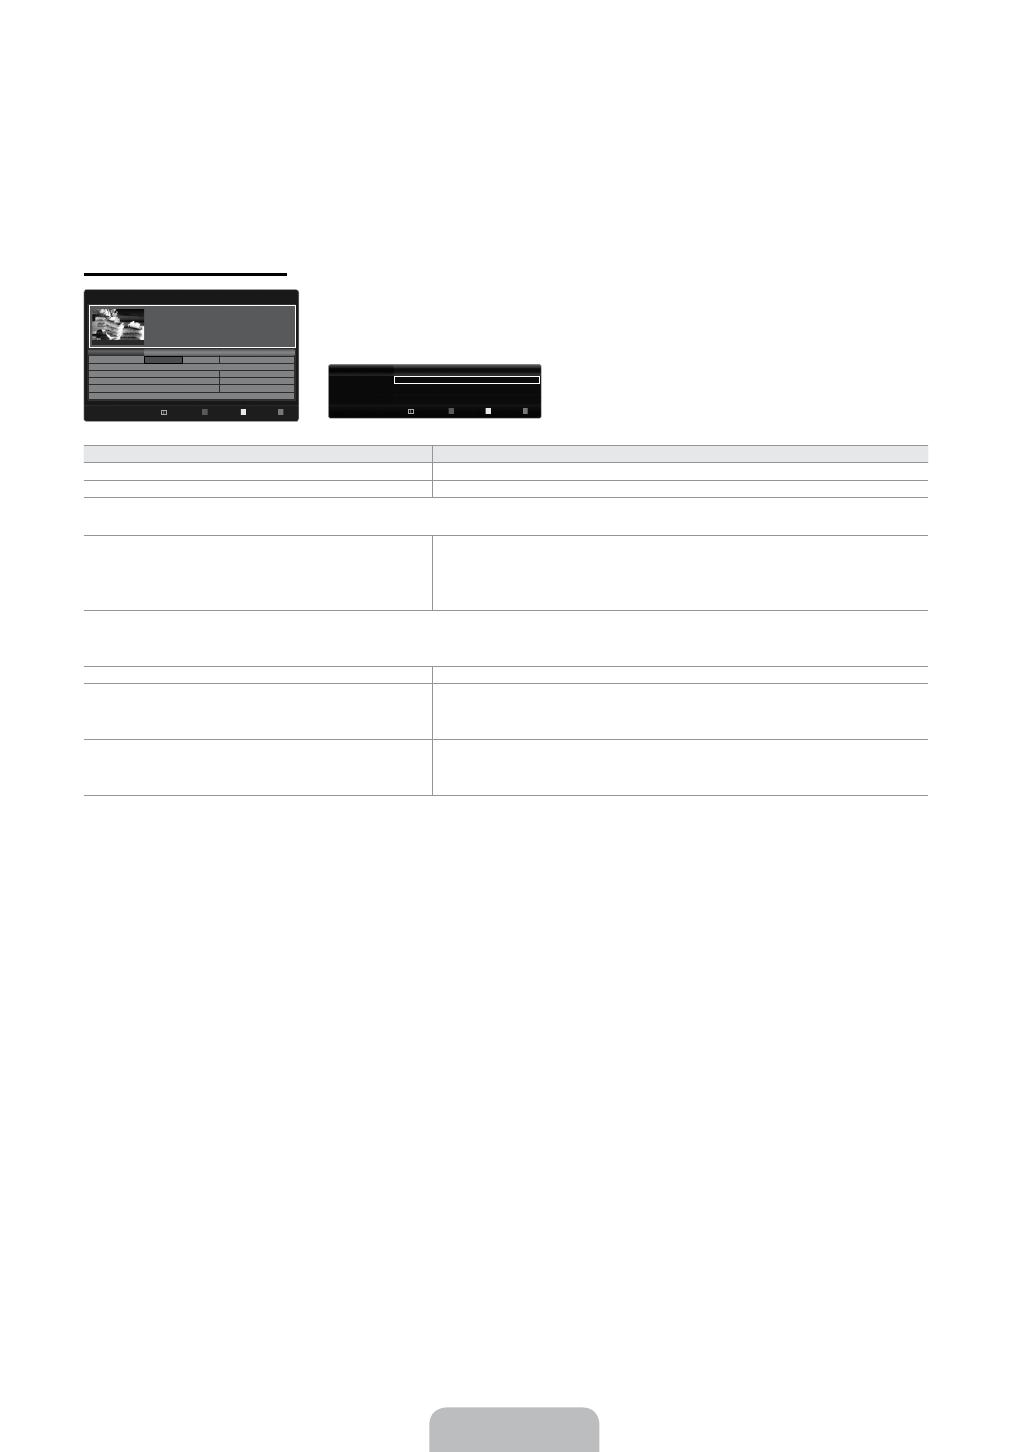
Settings can be adjusted and stored for each external device you have connected to an
input of the TV.
Occasionally, you may want to change the size of the image on your screen. Your TV comes
with several screen size options, each designed to work best with specific types of video input. Your cable box/satellite receiver
may have its own set of screen sizes as well. In general, though, you should view the TV in 16:9 mode as much as possible.
You can select these options by simply pressing the button on the remote control.
: Automatically adjusts the picture size to the aspect ratio.
: Adjusts the picture size to 16:9 appropriate for DVDs or wide broadcasting.
: Magnify the size of the picture more than 4:3.
: Magnifies the 16:9 wide picture (in the vertical direction) to fit the screen size.
4:3: This is the default setting for a video movie or normal broadcasting.
: Use the function to see the full image without any cut-off when HDMI (720p / 1080i / 1080p) or Component (1080i
/ 1080p) signals are input.
Depending on the input source, the picture size options may vary.
The items available may differ depending on the selected mode.
In PC Mode, only and 4:3 mode can be adjusted.
Settings can be adjusted and stored for each external device you have connected to an input of the TV.
Temporary image retention may occur when viewing a static image on the set for more than two hours.
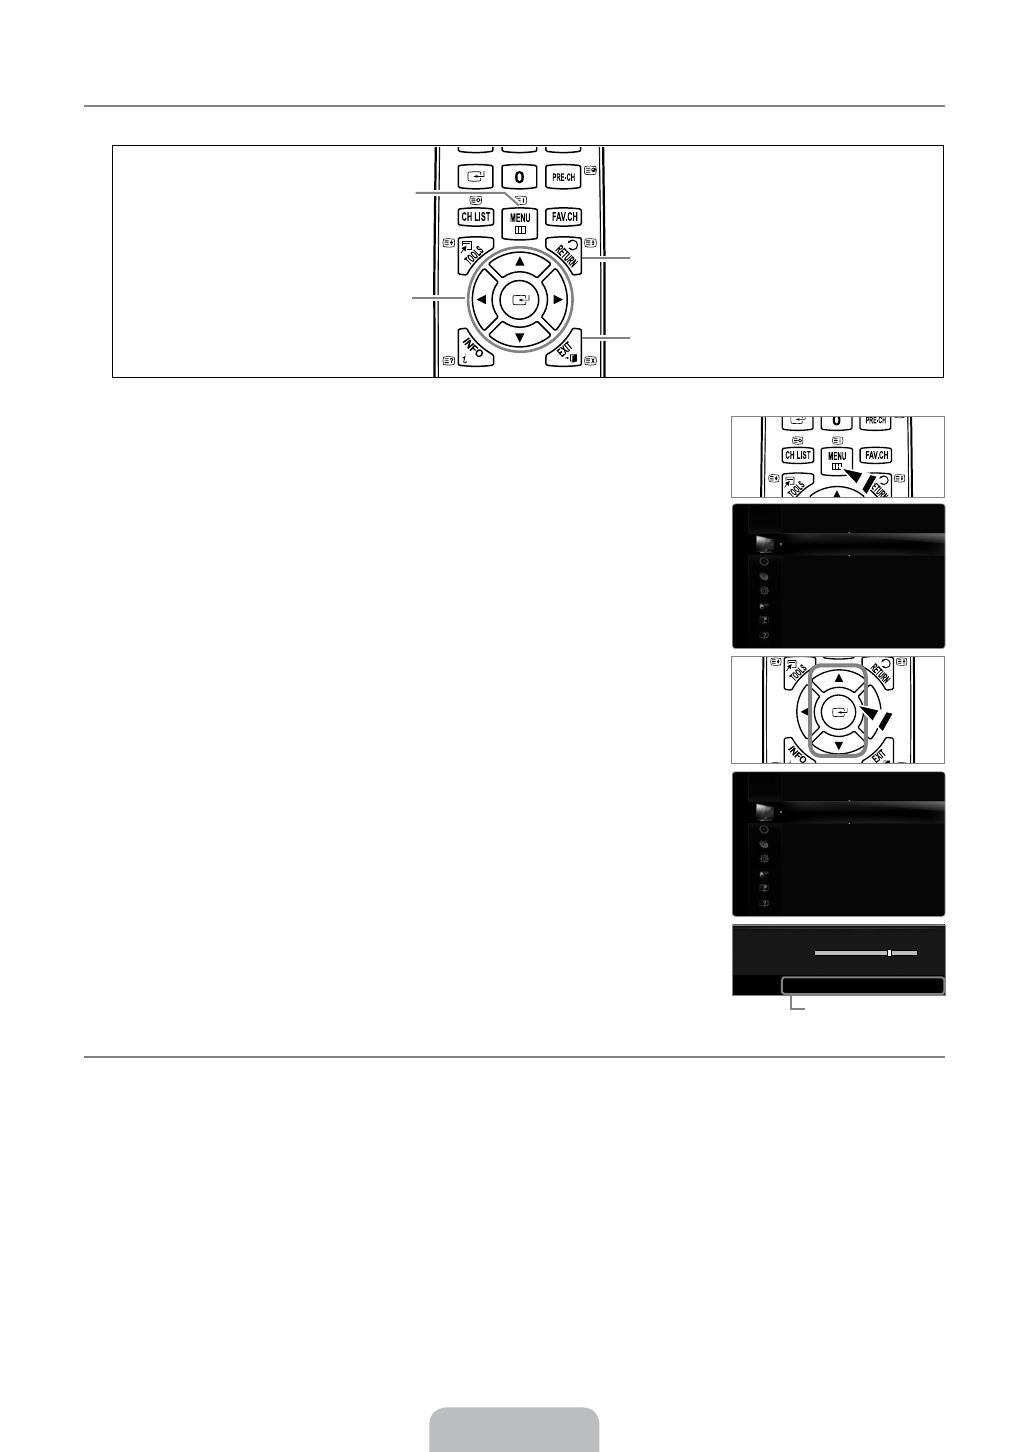
: Press the ► button to Select , then press the
E
button. Press the ▲ or ▼ button to move the
picture up / down. Then press the
E
button.
: Press the ► button to Select , then press the
E
button. Press the ▲ or ▼ button to move the picture
up and down. Then press the
E
button. Press the ► button to Select , then press the
E
button. Press
the ▲ or ▼ button to magnify or reduce the picture size in the vertical direction. Then press the
E
button.
After selecting in (1080i / 1080p) or (1080i / 1080p) mode: Select by pressing the ◄
or ► button. Use the ▲, ▼, ◄ or ► button to move the picture.
: Press the ◄ or ► button to select , then press the
E
button. You can initialize the setting.
If you use the function with HDMI 720p input, 1 line will be cut at the top, bottom, left and right as in the Overscan
function.
When setting the picture size to in a 16:9 wide TV, you can determine the picture size you want to see the 4:3 WSS
(Wide Screen Service) image or nothing. Each individual European country requires different picture size so this function is
intended for users to select it.
: Sets the picture to 16:9 wide mode.
: Magnify the size of the picture more than 4:3.
: Magnify the size of the picture vertically on screen.
4:3: Sets the picture to 4:3 normal mode.
This function is available in mode.
This function is not available in PC, Component or HDMI mode.
If the broadcast signal received by your TV is weak, you can activate the Digital Noise Reduction feature to help reduce any static
and ghosting that may appear on the screen.
When the signal is weak, select one of the other options until the best picture is displayed.
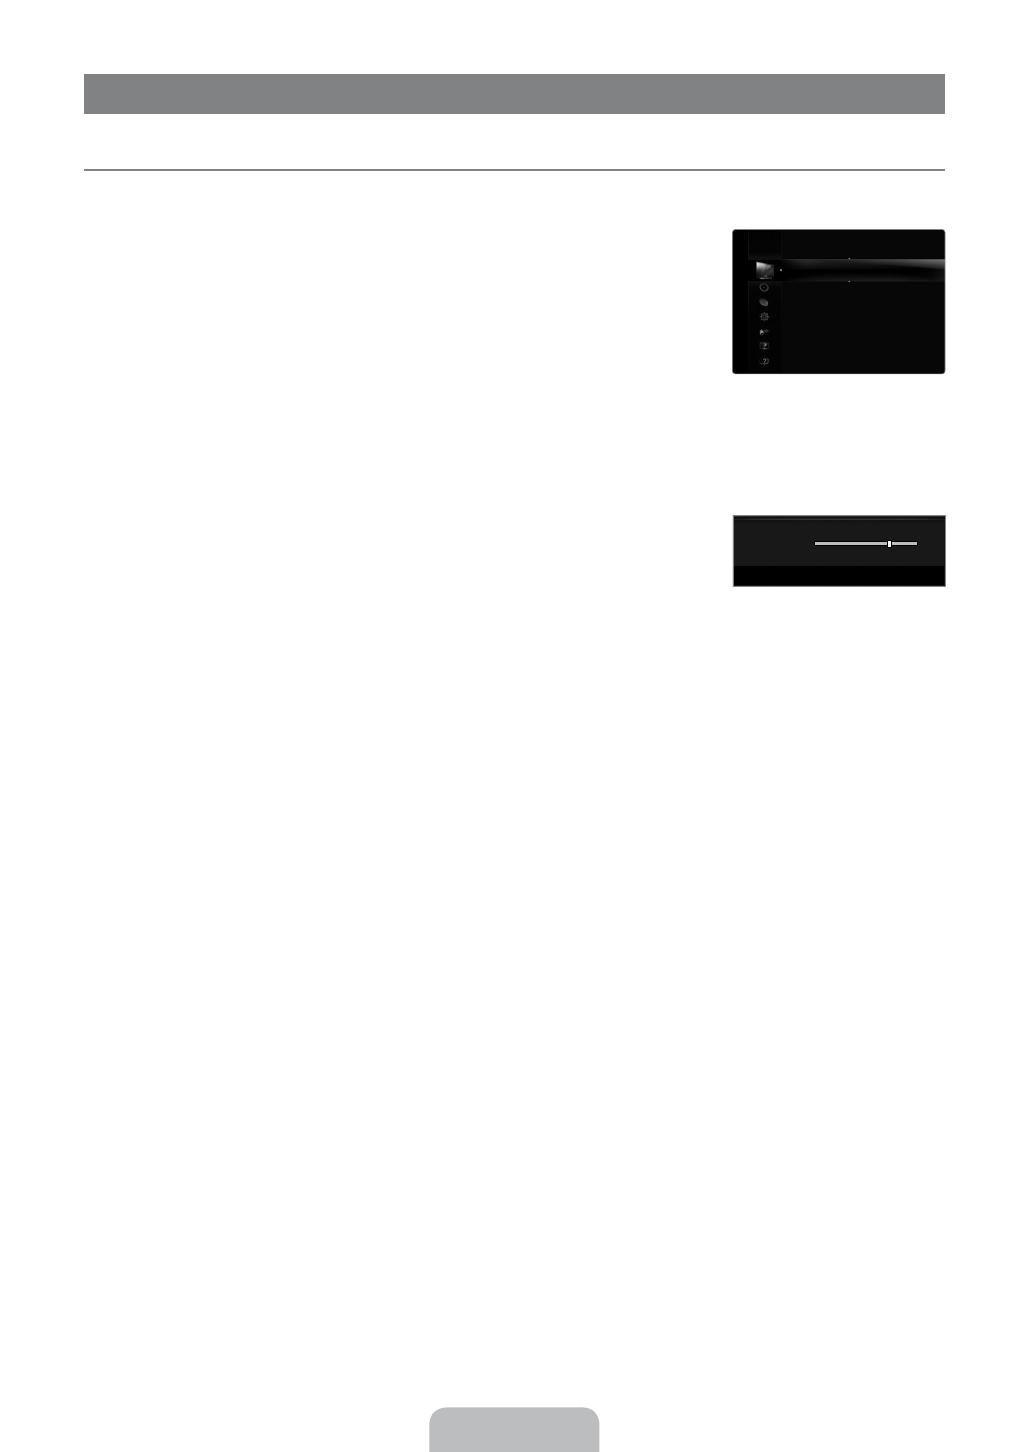
You can select the black level on the screen to adjust the screen depth.
This function is active only when an external device is connected to the TV via HDMI (RGB signals).
❑
N
■
N
N
■
O
●
●
●
●
●
●
N
N
N
N
N
N
N
N
N
■
●
●
●
●
N
N
■
N
■
N
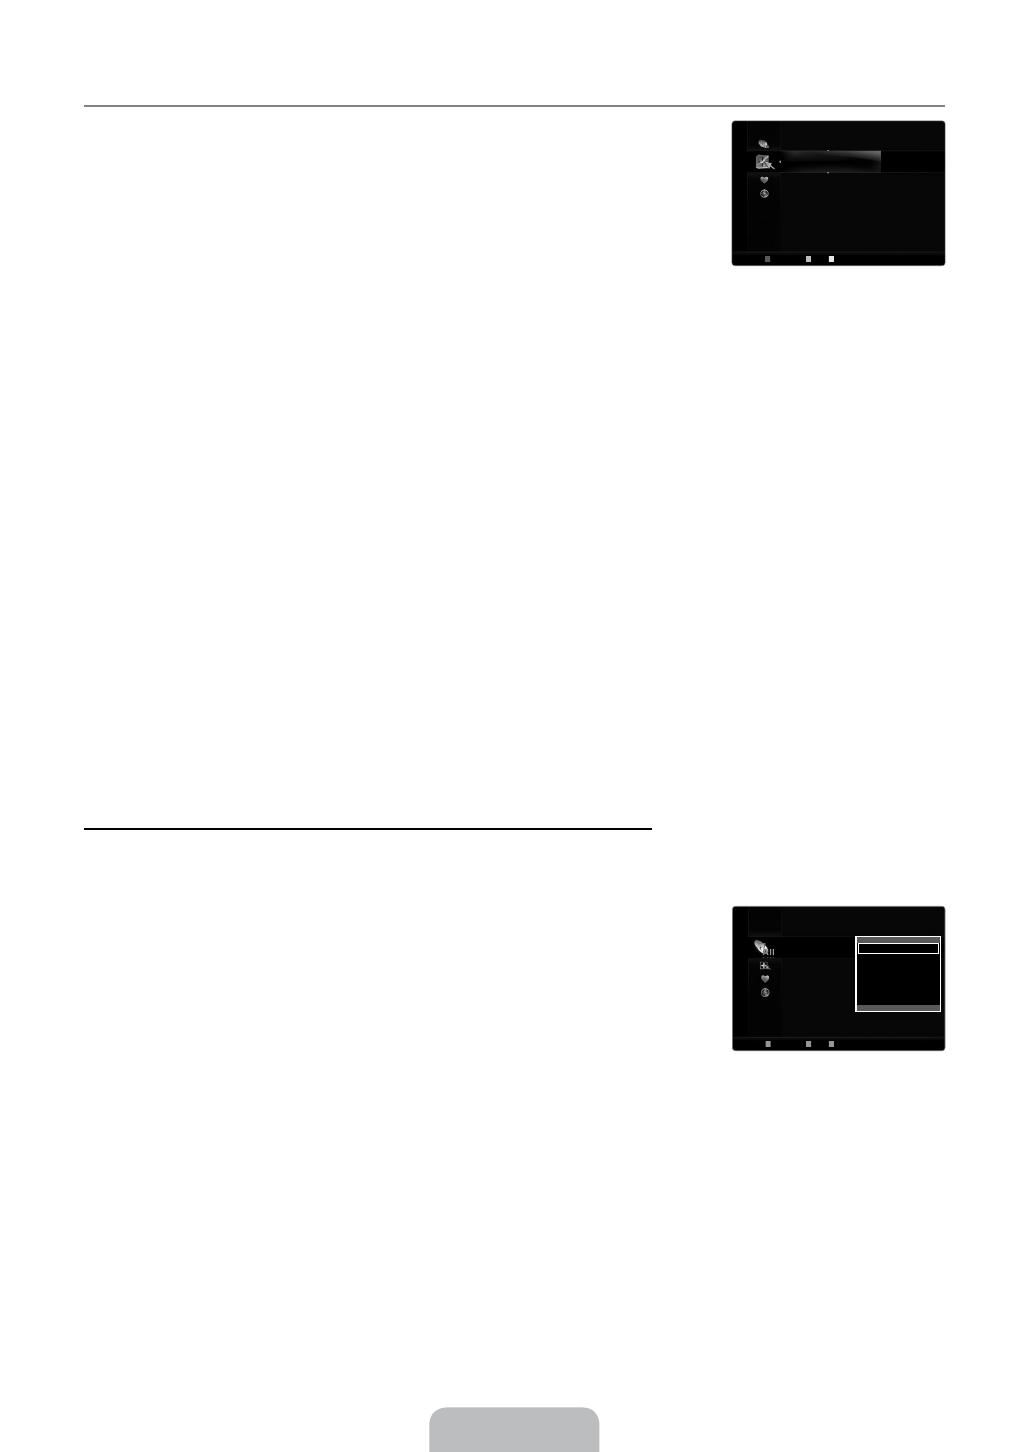
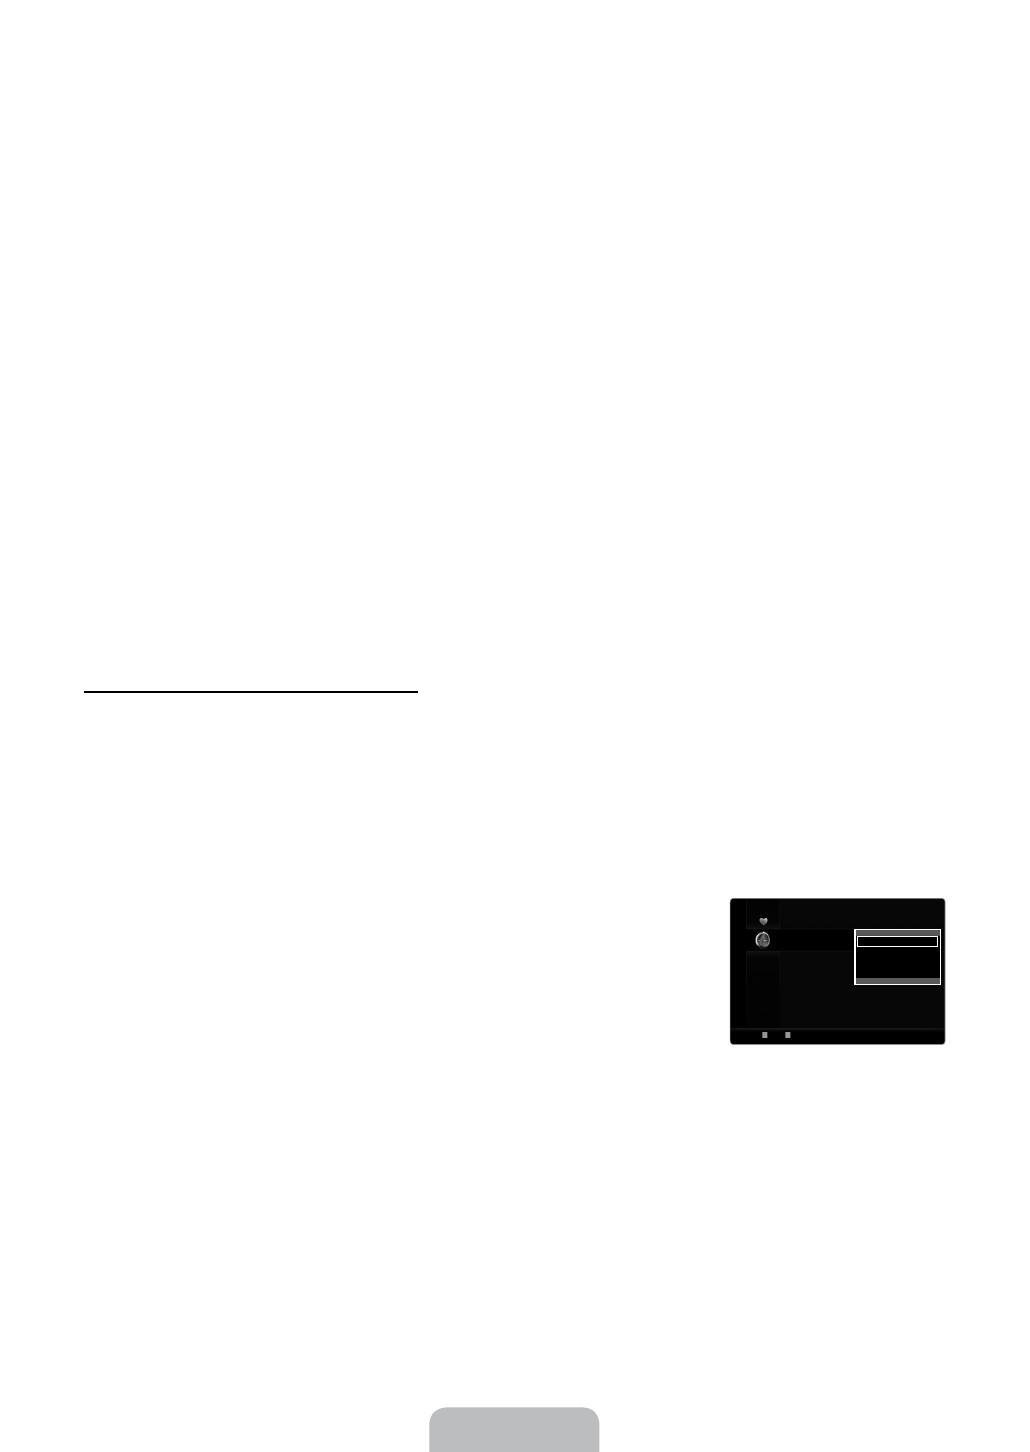
ColourTone :Normal ▶
Size :AutoWide
ScreenMode :16:9
DigitalNR :Auto
HDMIBlackLevel :Normal
FilmMode :Off
100HzMotionPlus :Standard
▼
U
Move
E
Enter
R
Return
PictureOptions
BN68-01968P-Eng.indb 18 2009-04-08 �� 5:34:20